Parents have the option of assigning chores to themselves which can help to set an example for kids and reinforce accountability. The parent chore feature is enabled by default, but see the steps below to learn how to configure this option in the app and how to create parent chores.
- Configure Parent Chore Option
- Create a Parent Chore
- Complete a Parent Chore
Configure Parent Chore Option
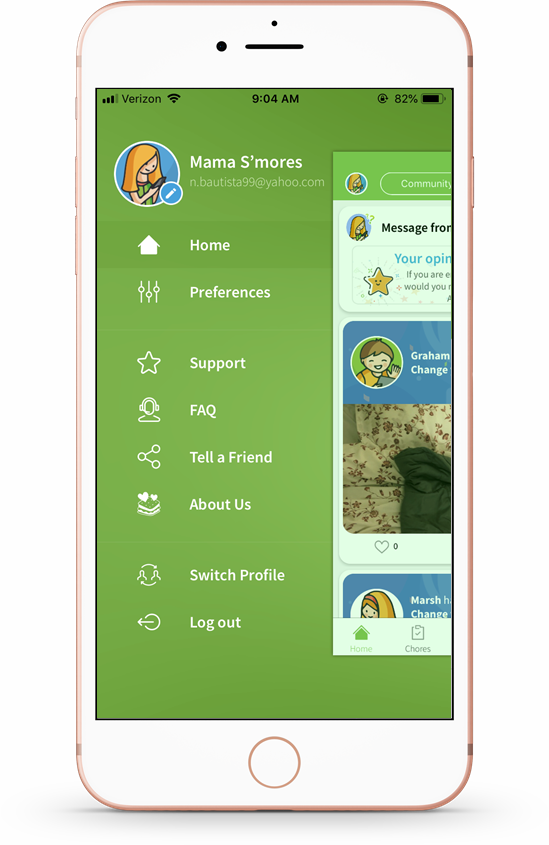
- Tap the profile icon at the top left of the screen. Tap Preferences.
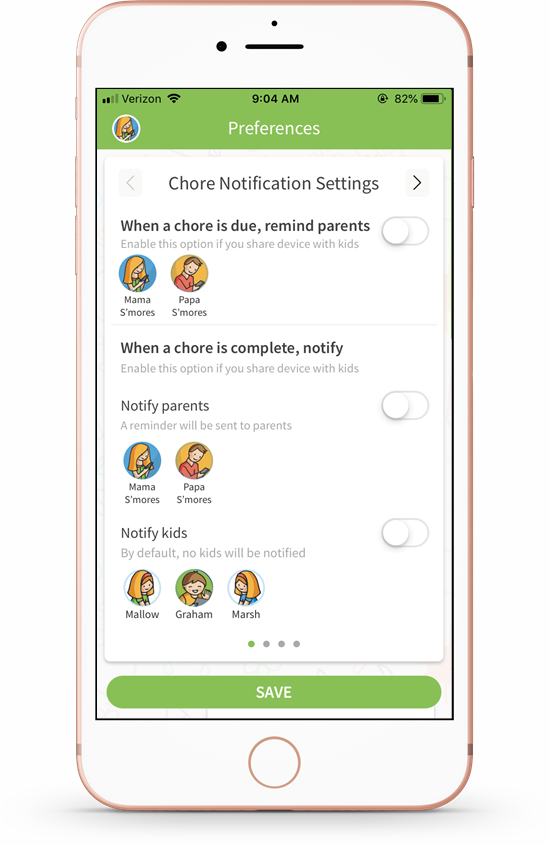
- You will be take to the Preferences home screen, the Chore Notification Settings screens. Swipe left or tap the >arrow icon to move to the next screen.
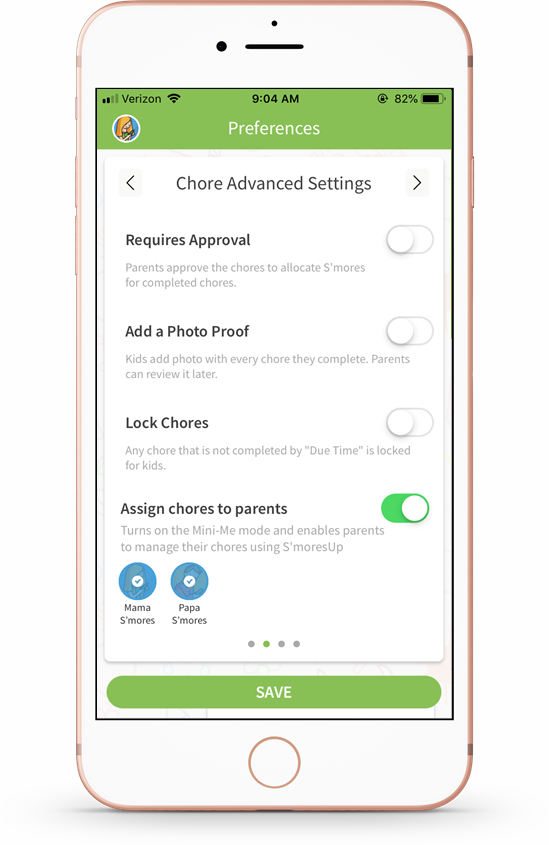
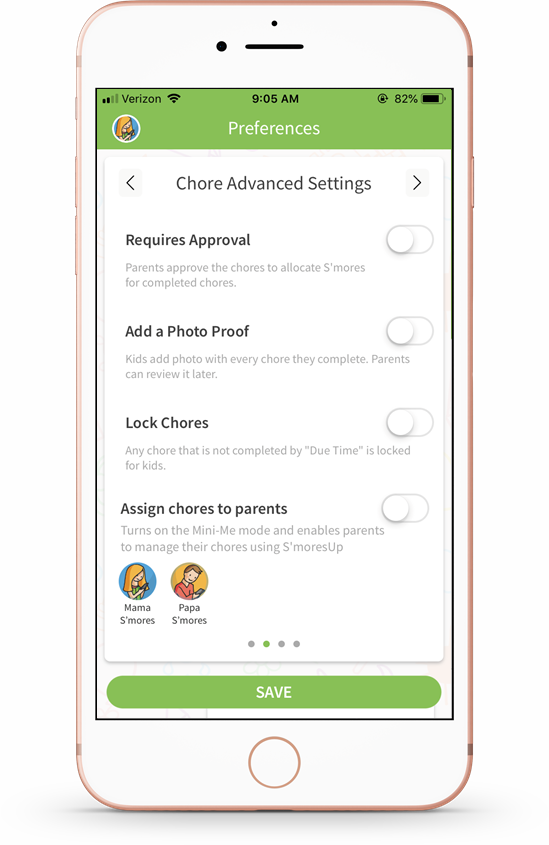
- On the Chore Advanced Settings screen, you can configure parent chores. The option under "Assign chores to parents" is enabled by default, and both parents are already selected to have this option. If you make any changes, tap Save.
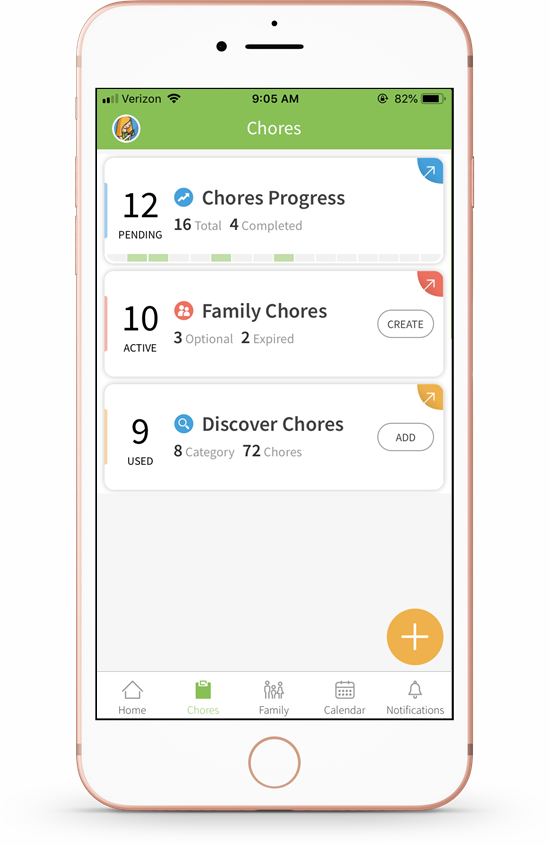
- Back on the home screen, under the Chores tab, you will see an option for parent chores under "My Chores."
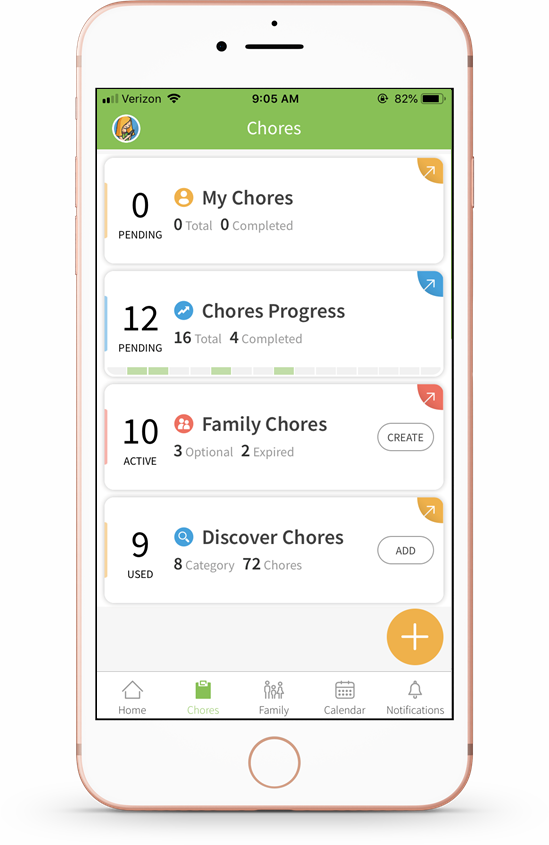
Important: If you choose to disable the parent chore option, the feature will be removed from the Chores tab screen.
Create a Parent Chore
With the parent chore option is enabled, parents can create and assign chores for themselves.
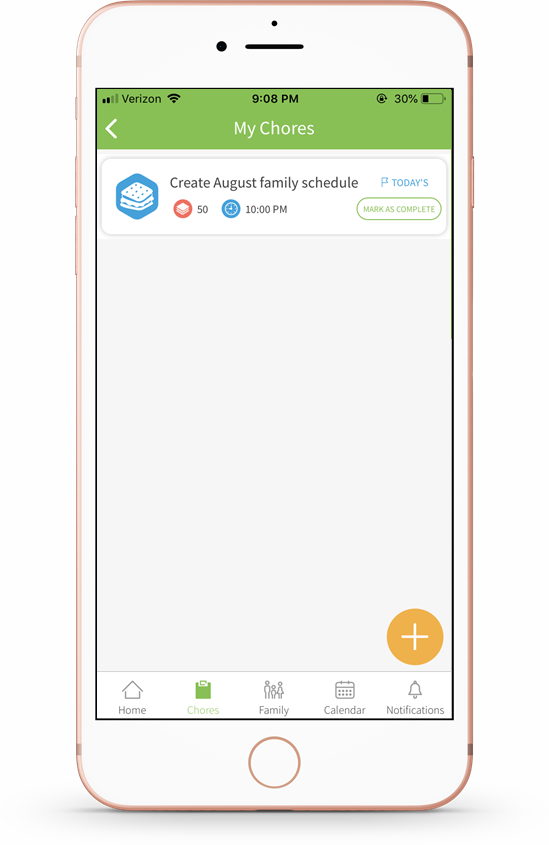
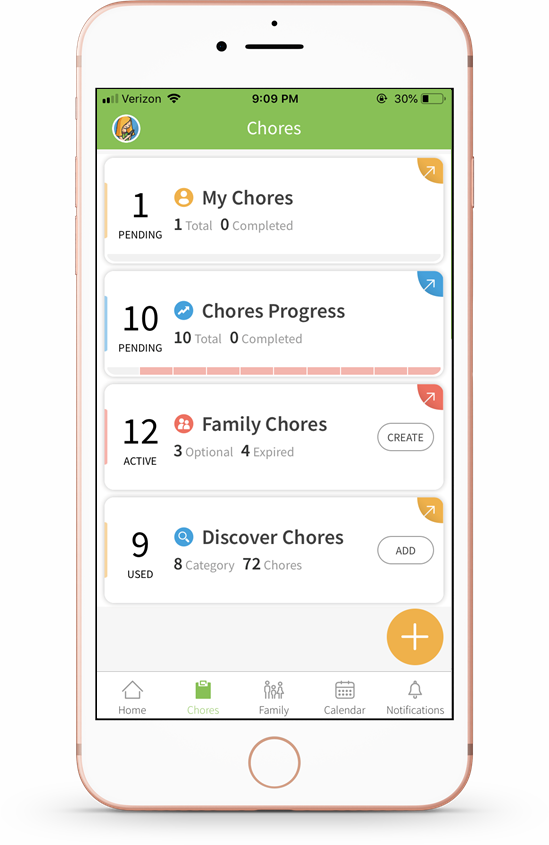
- From the Chores tab, tap the "My Chores" tile.

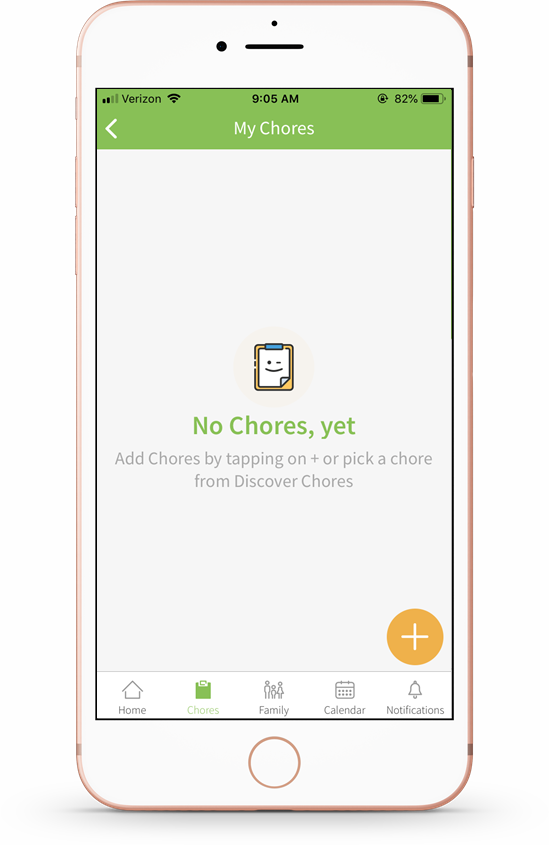
- Tap the orange + icon to create a new parent chore.
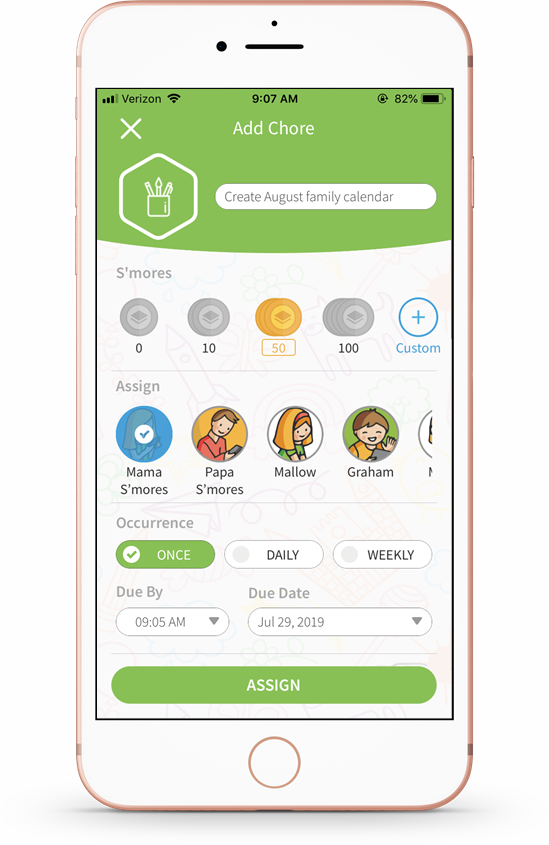
- Assign the chore by creating a name and due date. You can assign it to just yourself, or to your partner as well. Tap Assign when finished.
- The chore has now been created and you will see it added under the "My Chores" section.
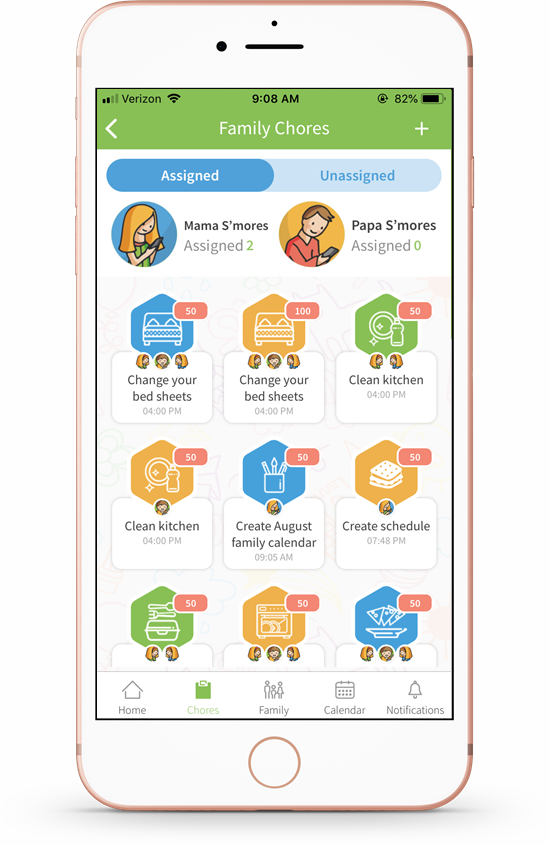
You can also see any parent chores by tapping the "Family Chores" tile.
This screen will show how many assigned chore each family member has, parents included.
Configure Parent Chore Option
To mark a parent chore as complete, follow the steps below:
- From the Chores tab, tap the "My Chores" tile.

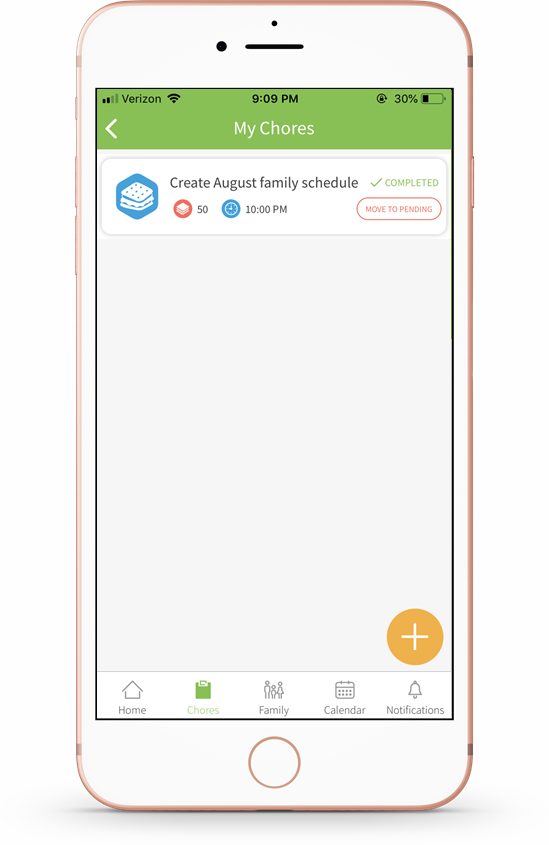
- Tap Mark as Complete.

- The chore has now been marked as completed.
Comments
Please sign in to leave a comment.